Go natural and make this wood and steel outdoor hot tub.
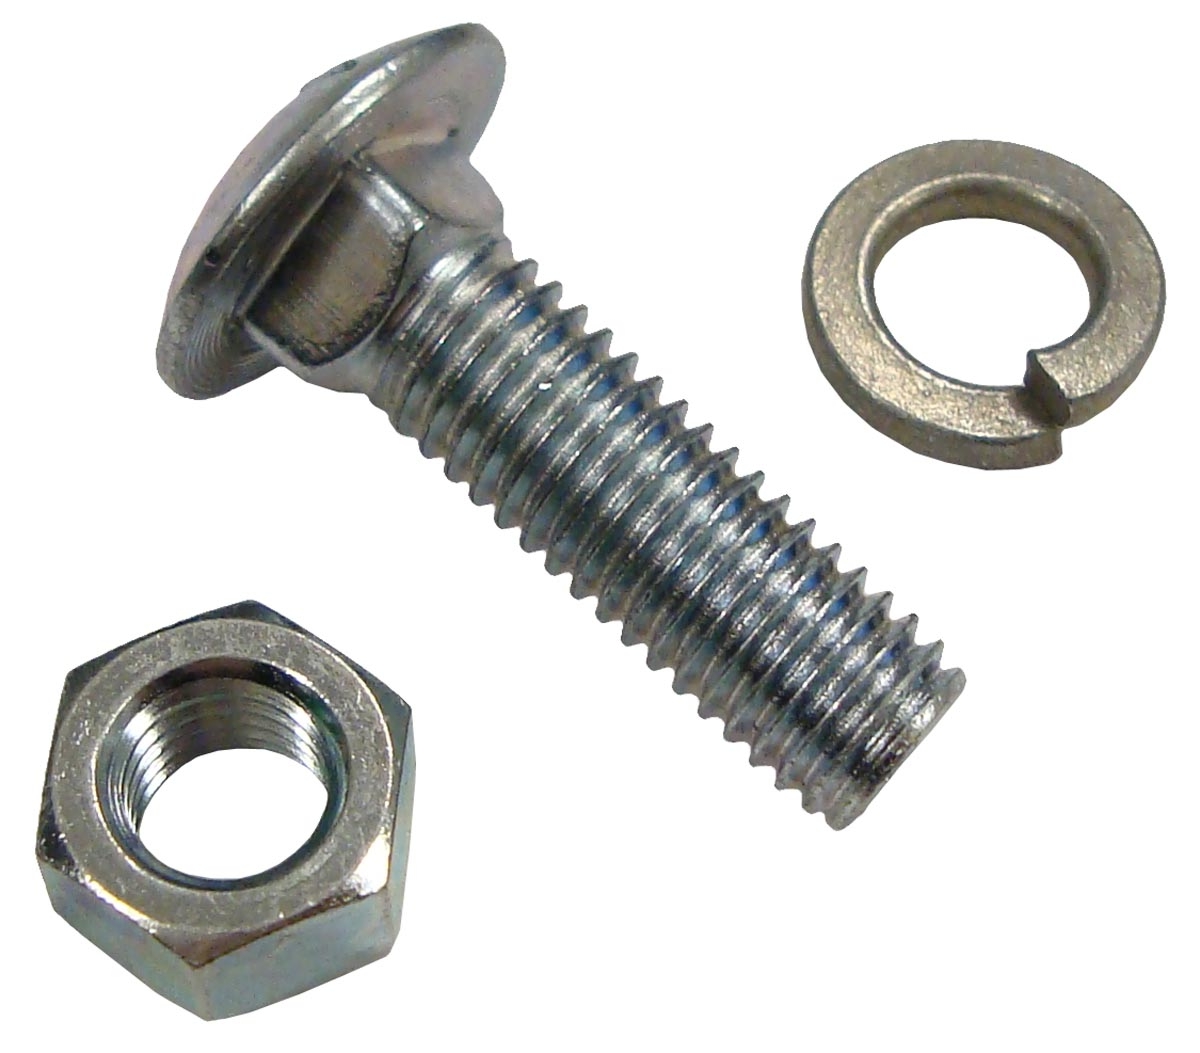
Mark Bollman, the founder of Ball and Buck, shared with us his step-by-step instructions for building a wood-fired hot tub. His log cabin, located deep the Berkshire mountains, provides the perfect backdrop for soaking in style. Because a plastic tub with jets would look weird in all this wilderness, Bollman chose a traditional Japanese style soaking tub from Snorkel Hot Tubs, that is made entirely from wood and stainless steel. After he ordered the hot tub to his specifications, it was ready to be built with the help of his friend Ron Schulz. stud screw
Here's how they did it.
It's tempting to build a hot tub in a remote location, but it's recommended to instead build close to the main house to maximize use. Make certain the surface is flat and can handle the weight of a tub full of water—and people.
Space chime joists 16 inches apart running against the grain of the tub’s floorboards. Because we built the tub on top of decking boards, we set them up perpendicular to those as well. The chime joints are set with the 4-inch side on the foundation and positioned so that they will not touch the drain.
Place the two bottom sections on top of the chime joints, make sure “This Side Up” faces up. Again, the floor sections must be perpendicular to the chime joints so the floor will be properly supported. To keep the floor boards snug together, nail two wood strips across the center seam. Offset the nails to prevent space from forming and increase stability. Place bottom on chime joists and use a level to ensure bottom is level.
Make sure the bottom makes contact with the chime joists and if necessary, use wood shims. The bottom should overhang the joists by at least 1 ½ inches.
On the tub bottom, apply generous bead of silicone to the recessed lip of the counter-sunk hole. Spread silicone and sealant mixture freely on the surface. Put a rubber gasket up against the fitting and insert fitting into hole from inside the tub. Apply silicone to the flat side of the plastic nut and screw onto the outside of the threaded end of the fitting. Do not over tighten as expanding wood can lead to cracking.
Set the drain fitting adaptor, and then attach the elbow followed by the drain fitting. Install the stopper on the inside of the tub and make sure it runs downhill.
Locate the four staves marked with chalk lines and two key staves, and set aside. Note that the staves with chalk are to be place around equal distances of the tub to aid in hoop placement. The key staves will be used to fit in the final gap. Stack the staves on the tub bottom to help keep the bottom in place as you work on it. Erect first stave over the seam between the two halves of the tub bottom.
Put on all full width staves first, ensuring to place the marked staves equally around the perimeter to use as a guide with the hoops. Use blue masking tape to hold staves together as you work on the tub. This is very important, and be liberal with tape usage. At first, tape was used sparingly, which resulted in the entire set of staves needing to be replaced two times. Staves should be touching one another with about 1/32-inch gaps (thickness of a credit card).
The staves should be lined exactly up with the outer chalk line on the tub floor, not the inside line. Use your mallet to lightly move the staves into alignment as you put them around the tub.
After the full width staves have been installed you will fit in the key staves. The flat edges are to be pressed tightly together with the tongue and groove on the outside.
If the gap for the key staves is two wide for them to fit snugly, then you must install the key staves in the gap against the last full width stave that was installed. Remove two staves and move 1/16” between them and the adjacent staves.
If your initial gap is too narrow for key staves to fit, remove the first two full width staves that were installed and install key staves against the last full width stave. Move one stave and then the next (3rd to be installed) 1/32-inches between the two.
Lay hoop pieces on the ground with two thread ends touching. Connect them by screwing in coupler nut. Repeat for each loop.
Install the lug by inserting threaded end of the hoop into narrow end of lug. Slide washer on and thread nut on ½-inch so hoops will fit loosely.
Apply lubricant on threads through backside of lug, emphasizing a large amount on the bottom hoop threads as these are the threads that will be under the most tension. Place one completed hoop around the base of the tub as it is easier to slide the first hoop up from the bottom. The others can come down over the top.
Assemble the bottom hoop around the base of the tub, and slide it up. Pull the lug and coupler nut away from the wood. Use nails to rest the hoops on and support it on wood blocks to hold it all in place. Hoops should be located at the follow measurements:
3’ stave: 4” (bottom), 14”(middle), 32” (top), 4’ stave: 4” (bottom), 14” (middle #1), 28” (middle #2), 44” top
Position the lug of the bottom hoop so that it spans the joint between two staves and is as close as possible to the midpoint.
Remove slack in the hoop by tightening the nuts with a wrench. Repeat process with remaining hoops.
Rounding is completed through the repetitive process of 1) Pounding the bottom hoop/band to move the staves inward. 2) Tightening the hoops/bands and 3) Keeping the staves aligned so their tongues and grooves stay engaged.
You only need to pound the bottom hoop, don’t hit the middle or top hoops. Do not over tighten.
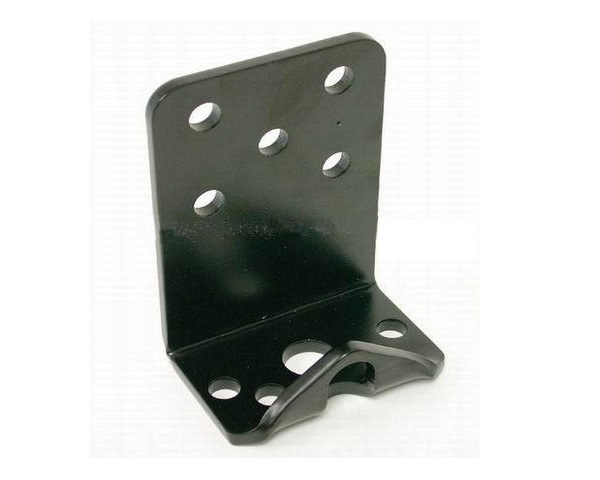
Place stove in tub, and climb in it. Bend the mounting brackets on the side of the stove to conform to the tub’s curves. Hold stove in place with door opening 1” above the rim of the tub. For Snorkel stove, set on combination of a fence board and board support. Mark hole locations through the bracket holes. Set stove aside, and drill 5/16-inch hole through the tub at each mark. Open mounting package, and slip rubber washers onto carriage bolt until it touches the head of the bolt. Push carriage bolts through holes you just drilled.
Place stove back into position in the tub, running the carriage bolts through the holes in the mounting brackets. Remove any supports before tightening the bolts then tighten the nuts securely.
Bolt the handle to the stove door. The handle should be oriented so the grip is facing the end of the stove door and not the center
The hot tub needs at least 6 feet of stove pipe. For galvanized pipe, insert one edge into the slot of the pipe and squeeze into place. If you are using a stainless steel pipe with coating, simply peel off coating before assembling. To secure pipe, you can pop a rivet or install sheet metal screws at the joints using three fasteners per.
Remove the damper handle/pin from the damper. Compress the spring on the pin, and push the wide end until it compresses, then turn the pin. Use handle/pin to make an indentation in the pipe. Make mark 12” up from non-crimped end, and 90 degrees away from welded seam. Drill hole for handle. Insert handle into hole you drilled. Remove damper handle, and pound dimple into the pipe. Push the spring on the handle back in place, insert the pin in the pipe, and thread it into the damper. Push the pointed end of the pin through the opposite hole.
The fence is attached to the Snorkel stove by bolting it to the four mounting brackets facing the center of the tub. The fence is attached to the store by four 1 ¾-inch carriage bolts and wing nuts. Mark the three horizontal fence boards for vertical fence board placement. Attach the vertical fence boards to the three horizontal fence boards. Place the stove on the fence, and mark and drill four 5/16-inch holes—two in the middle area of the fence and two at the bottom. Mount stove using 1 ¾-inch carriage bolts and wing nuts.
Determine the height you want each bench. Set bench against the tub wall, and measure the distance from the bottom of bench to the tub floor. Take two supports and use 2 ½-inch stainless screws, and center screws 2-inches from end on each support. Screw two supports onto the front of the bench perpendicular to seat front. Place bench on top of support screws to tub wall.
Attach treads to jacks, pre-drill holes for lag bolts. Attach rear rail support to left side of steps. Attach front rail support and railing. Tag diagonal support before nailing. Finally, screw diagonal support brace across rear of stairs.
Begin to fill your tub using a standard garden hose. The warm water will help the wood swell. and be sure to seal up any leaks that may be present.
After one day all leaks should be gone, and you are ready for a well-earned soak.
Timothy is a lifelong DIY enthusiast who is fixated on smart home tech, beautiful tools, and wrenching on his FJ62 Land Cruiser. He’s the DIY editor at Popular Mechanics and also the founder of the home improvement site, Charles & Hudson, the Webby-nominated family site, Built by Kids, and Tool Crave. When not working, you’ll find him on his board or bike enjoying the LA weather with his family and friends. Follow him on Instagram and Twitter.
How to Use a Snow Blower
Festive Engineering: How Christmas Lights Work
Top Tips For Fall Lawn and Leaf Maintenance
7 Ways to Silence Your Squeaky Floor
Don’t Forget the Small Stuff
How to Choose the Right Drill Bit
The Right Way to Use a Fire Extinguisher
Can Your A/C Only Cool a Space by 20 Degrees?
J-B Weld: Just How Tough Is It?
Make Your Own Smoker Out of a 55-Gallon Barrel
Simple Fixes for Toilet Trouble
A Part of Hearst Digital Media
We may earn commission from links on this page, but we only recommend products we back.
washer ©2024 Hearst Magazine Media, Inc. All Rights Reserved.